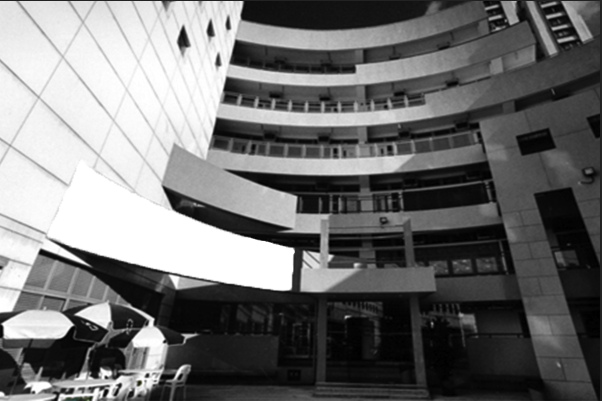
Original:
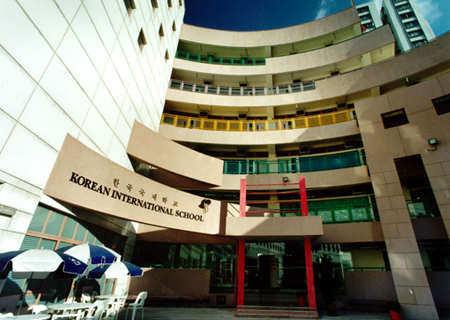
This is the untouched image of Korean International School before I started to edit it using Adobe Photoshop CC 2014.
Editing Process:
During the editing process, I used black & white and hue/saturation effects.
- Black & white effect: Due to the availability of various different colours on the images, I used black and white in order to make it all the color synchronize then I can move on to the area where I want to emphasize by using different colour. I used default as the preset and change most of the colors by darken it.
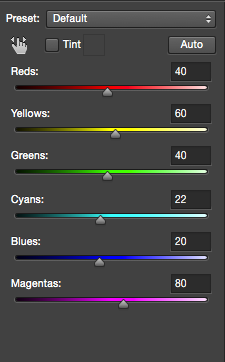
Black & White Effect
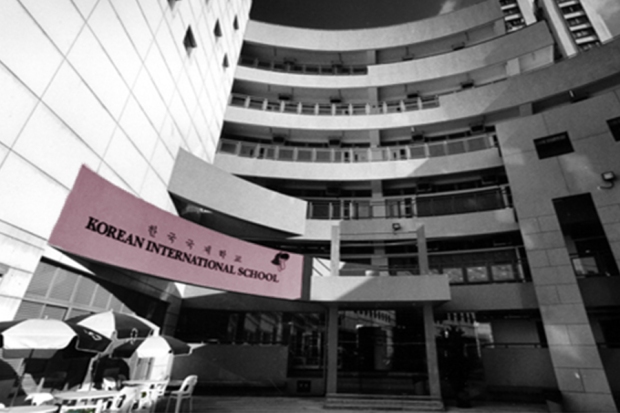
- Hue/saturation effect: This is the effect that I used in order to emphasize the specific area. I used the quick selection tool to select the area that I intended to highlight which is where Korean International School is written. For hue, i changed it to around red colour and I made the saturation low to 16 or else it will be too unfamiliar.
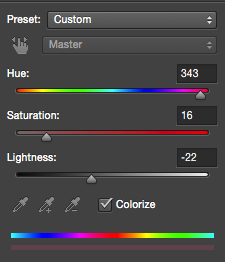
Hue/Saturation Effect
As for the lightness I tried to make it darken but I have to choose in between white and black, so I made it too -22. If I make it to 100% black, the photo will be like this:
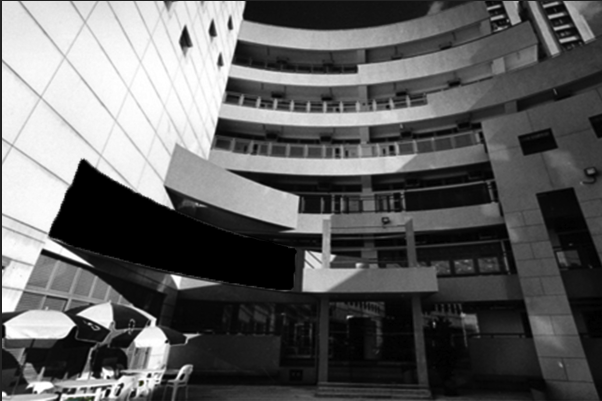
100% Black
Whereas 100% white will be like this:
100% white
After Photoshopped:
This is how it looks like after the photoshop process finished.
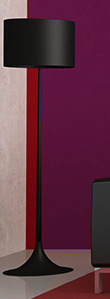
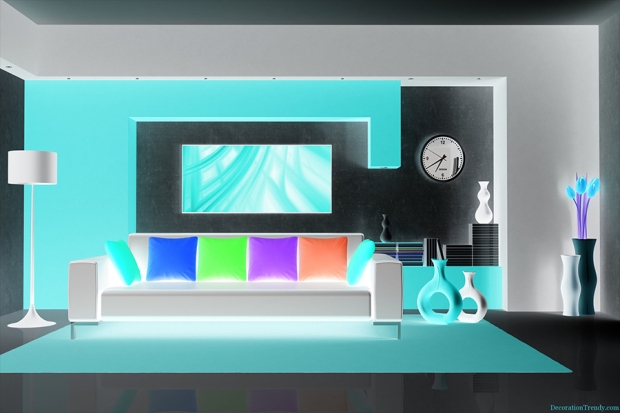
Original:
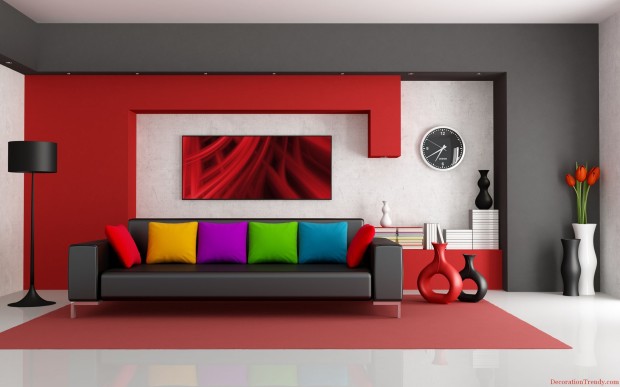
This is the original image I use before I started to edit it. I have two different outcomes after editing the same image by using different effects.
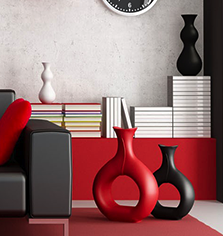
During the process of first outcome:
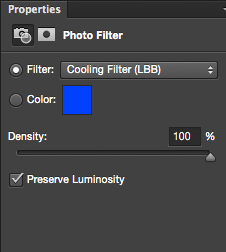
For the first one, again by selecting the quick selection tool, I selected the specific area I want. Basically I’m trying to change the wall colour. I used photo filter to change the wall and vase colour. I had to select the area one by one especially when the area is separated for example separated by standing lamp. Therefore I have several layers of photo filter where I need to select areas I intended to use and change the colour. The filter I’ve applied to change the colour is Cooling Filter (LBB). Below shows the original image and the image I’ve edited for selected areas. For the layers, I made a new layer each time before I learnt that I can duplicate the layer in order to not lose what I’ve edited, in case I accidentally deleted the original picture. If I deleted the original picture accidentally, the duplicated layer will be my back up whereas if I use new layer, photos I’ve edited will be gone.


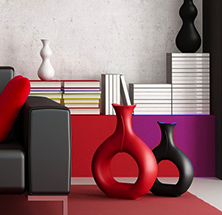


After photoshopped:
First Outcome
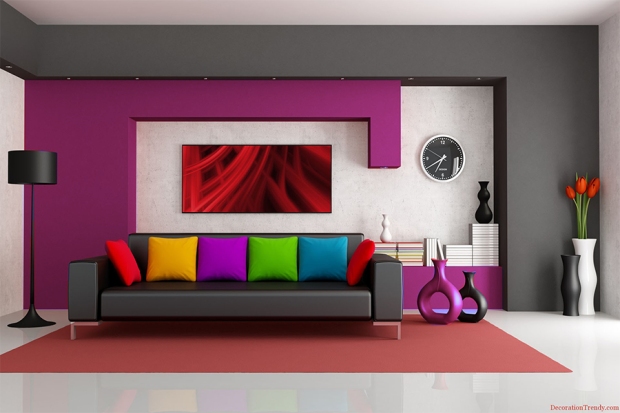
Second Outcome
Inverted & Colour Balance
